

代码拉取完成,页面将自动刷新
Spring Cloud将Netflix Eureka 拿进来整合了一下,方便Spring Cloud采用Netflix Eureka来做服务注册中心,方便使用; 也就是说 Spring Cloud对 Netflix Eureka做了二次封装。
Eureka Eureka 采用了 C-S(客户端/服务端)的设计架构,也就是 Eureka 由两个组件组成:Eureka服务端和Eureka客户端。 Eureka Server(一个独立的项目)用于注册服务 以及 实现服务的 负载均衡 和 故障转移,它是 服务的 注册中心, 如果我们要将自己的服务注册到Eureka服务上去的话,就要让我们的服务作为Eureka的客户端,而且我们的服务本质上也是一个Springboot的单体项目。
Eureka Client(我们的微服务)它是用于与 Eureka Server交互(我们的服务即Eureka Client客户端与Eureka Server服务端进行交互),获取其上注册的服务(不需要去记住接口地址),使得交互变得非常简单,只需要通过 服务标识 即可拿到服务(其实就是从Eureka Server上获取拿到接口地址,也不需要自己去记住接口地址,即代码层当中的GOODS_SERVICE_URL就不再需要了)。
Spring Cloud中的Eureka 服务注册中心, 实际上也是一个 Spring Boot 工程,
 demo-cloud  ———————————————————————————————— 父项目
 ├── eureka-server ----------------------------Eureka的服务端  6091
 ├── eureka-admin -----------------------------Eureka的客户端 8763
 ├── eureka-job -------------------------------Eureka的客户端 8764
 ├── eureka-config ----------------------------Eureka的客户端,也是Config配置中心  8762
 ├── eureka-gateway ----------------------------Eureka网关配置   8765
要作为服务端,其实也很简单,因为Springcloud已经给我们封装好了。
<!--Spring Cloud 的 eureka-server 起步依赖-->
 <dependency>
     <groupId>org.springframework.cloud</groupId>
     <artifactId>spring-cloud-starter-netflix-eureka-server</artifactId>
 </dependency>
/**
 * @author zhangjunfa
 */
@SpringBootApplication
@EnableEurekaServer   //注册为Eureka的服务端
public class EurekaServerApplication {

    public static void main(String[] args) {
        SpringApplication.run(EurekaServerApplication.class, args);
    }

}
# 服务端口
server:
  port: 6091
  enable-self-preservation: false
# 应用名称
spring:
  application:
    name: eureka-server
# Eureka配置
eureka:
  instance:
    #设置该服务注册中心的 hostname
    hostname: 127.0.0.1
  client:
    registerWithEureka: false   #注册使用Eureka,设为FALSE,防止自己注册自己
    fetchRegistry: false  #设置为false,表示禁止这种 自己向自己注册的默认行为
    serviceUrl:
      #      defaultZone: http://${spring.security.user.name}:${spring.security.user.password}@${eureka.instance.hostname}:${server.port}/eureka/
      defaultZone: http://${eureka.instance.hostname}:${server.port}/eureka/
上面的配置完成后。就可以简单的测试了。

eureka的客户端和服务端差不多一样的配置,
<dependency>
    <groupId>org.springframework.cloud</groupId>
    <artifactId>spring-cloud-starter-netflix-eureka-client</artifactId>
</dependency>
@SpringBootApplication
@EnableEurekaClient   //注解为Eureka的客户端
public class EurekaJobApplication {

    public static void main(String[] args) {
        SpringApplication.run(EurekaJobApplication.class, args);
    }

}
server:
  port: 8762
#服务的名称
spring:
  application:
    name: eureka-job

#指定注册中心地址
eureka:
  client:
    serviceUrl:
      defaultZone: http://127.0.0.1:6091/eureka/
  instance:
    prefer-ip-address: true
客户端配置和上面一样,
接下了就可以测试一下啦

SpringCloud有两种服务调用方式,一种是ribbon+restTemplate,另外一种是feign Feign是一个声明式的伪客户端,它使得写Http客户端变得更简单,使用Feign,只需要创建一个接口并注解。
@RestController
@RequestMapping
public class TestController {
    @GetMapping("/testAdmin")
    public String test() {
        return "我是Eureka服务的消费者,我的名字是eureka-admin";
    }
}
@FeignClient(value = "eureka-admin")
public interface FeignService {
    /**
     * 测试消费Eureka-admin服务中的接口
     *
     * @return java.lang.String
     * @author rosszhang
     * @date 2022/6/16 11:27
     */
    @GetMapping("/testAdmin")
    public String testAdmin();
}
@RequestMapping
@RestController
public class TestController {

    //注意此处可能会有一个报错。无法发现feignService这个服务,
    /*Consider defining a bean of type 'com.example.eurekajob.feign.FeignService' in your configuration.*/
    @Autowired
    private FeignService feignService;

    @GetMapping("/findOne")
    public HashMap fineOne() {
        HashMap<String, Object> map = new HashMap<String, Object>();
        map.put("name", "陈");
        map.put("age", "18");
        map.put("address", "天字一号");
        return map;
    }

    @GetMapping("/testConsumerService")
    public String testConsumerService(){
        return feignService.testAdmin();
    }
}
这个错误是因为: 我们要在启动入口添加两个注解:我原先的代码中只添加了一个@EnableEurekaClient,所以会报错。我们只需要添加@EnableFeignClients这个注解就可以解决
@SpringBootApplication
@EnableEurekaClient
@EnableFeignClients
public class EurekaJobApplication {

    public static void main(String[] args) {
        SpringApplication.run(EurekaJobApplication.class, args);
    }

}
然后我们就可以测试一下了。在eureka-job中请求一下

我们先测试eureka-job服务
   <!--引入统一配置中心-->
   <dependency>
     <groupId>org.springframework.cloud</groupId>
     <artifactId>spring-cloud-config-server</artifactId>
   </dependency>
@SpringBootApplication
@EnableEurekaClient
@EnableFeignClients
@EnableConfigServer
public class EurekaJobApplication {
   public static void main(String[] args) {
       SpringApplication.run(EurekaJobApplication.class, args);
   }
}
#springcloud-config配置----开始
 cloud:
   config:
     server:
       git:
         uri: https://gitee.com/zhang_jun_fa/spring-cloud-config.git
         username: 你的用户名
         password: 你的密码
#springcloud-config配置----结束
具体建立仓库的方法,大家自行百度,
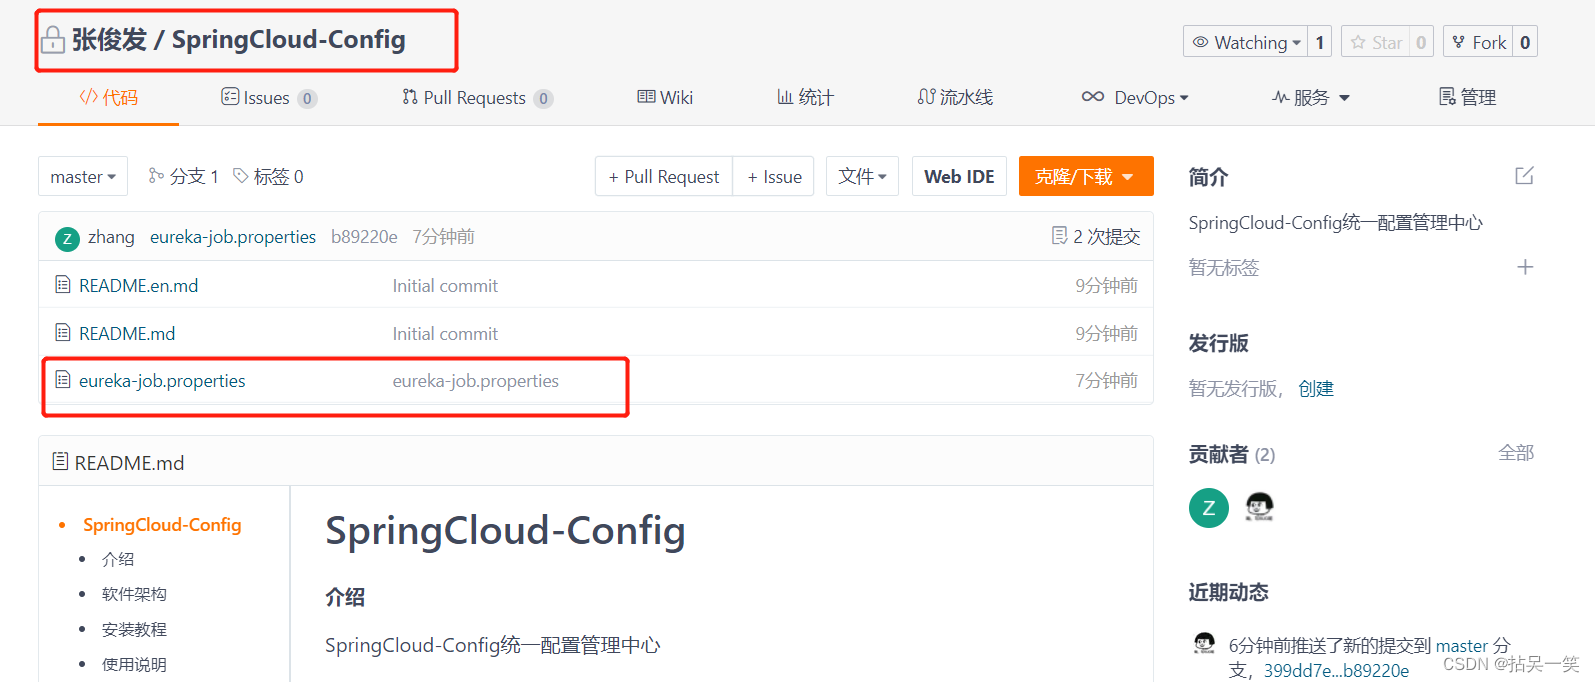 这个仓库中只有一个.md和eureka-job.properties文件.
eureka-job.properties中我们只加入两个值
这个仓库中只有一个.md和eureka-job.properties文件.
eureka-job.properties中我们只加入两个值
name=rosszhang
age=30
然后我们可以测试一下

<dependency>
    <groupId>org.springframework.cloud</groupId>
    <artifactId>spring-cloud-starter-gateway</artifactId>
</dependency>
<!-- json -->
<dependency>
    <groupId>com.alibaba</groupId>
    <artifactId>fastjson</artifactId>
    <version>1.2.78</version>
</dependency>
@Configuration
public class CorsConfig {
    //处理跨域
    @Bean
    public CorsWebFilter corsFilter() {
        CorsConfiguration config = new CorsConfiguration();
        config.addAllowedMethod("*");
        config.addAllowedOrigin("*");
        config.addAllowedHeader("*");
        UrlBasedCorsConfigurationSource source = new UrlBasedCorsConfigurationSource(new PathPatternParser());
        source.registerCorsConfiguration("/**", config);
        return new CorsWebFilter(source);
    }
}
package com.example.eurekagateway.filter;

import com.alibaba.fastjson.JSONObject;
import org.springframework.cloud.gateway.filter.GatewayFilterChain;
import org.springframework.cloud.gateway.filter.GlobalFilter;
import org.springframework.core.Ordered;
import org.springframework.core.io.buffer.DataBuffer;
import org.springframework.http.server.reactive.ServerHttpRequest;
import org.springframework.http.server.reactive.ServerHttpResponse;
import org.springframework.stereotype.Component;
import org.springframework.web.server.ServerWebExchange;
import reactor.core.publisher.Mono;

import java.nio.charset.StandardCharsets;
/**
 * @author zhang
 * @date 2022/9/20
 */
@Component
public class AuthGlobalFilter implements GlobalFilter, Ordered {


    @Override
    public Mono<Void> filter(ServerWebExchange exchange, GatewayFilterChain chain) {
        System.out.println("执行了自定义的全局过滤器");
        //1.获取请求参数access-token
        String token = exchange.getRequest().getQueryParams().getFirst("access-token");
        //2.判断是否存在
        if(token == null) {
            //3.如果不存在 : 认证失败
            System.out.println("没有登录");
            exchange.getResponse().setStatusCode(HttpStatus.UNAUTHORIZED);
            return exchange.getResponse().setComplete(); //请求结束
        }
        //4.如果存在,继续执行
                return chain.filter(exchange); //继续向下执行
    }

    @Override
    public int getOrder() {
        return 0;
    }

}
大家可以看看这位大佬的文章:Fengshana
此处可能存在不合适展示的内容,页面不予展示。您可通过相关编辑功能自查并修改。
如您确认内容无涉及 不当用语 / 纯广告导流 / 暴力 / 低俗色情 / 侵权 / 盗版 / 虚假 / 无价值内容或违法国家有关法律法规的内容,可点击提交进行申诉,我们将尽快为您处理。


